
Many of my customers have asked for advice on how to print and assemble their printable products, and while I always provide instructions upon purchase, I’ve decided to take things a step further. I will now be starting a series { including videos } on how to assemble your printables!
Many of you may watch these videos and think to yourself, “that looks easy…” and that’s the point! I wanted to make these videos to show those who may be afraid of printables how easy it really is. I also want to share my tips and techniques, as well as materials I’ve found to work the best.
UP FIRST: PRINTABLE CUPCAKE TOPPERS
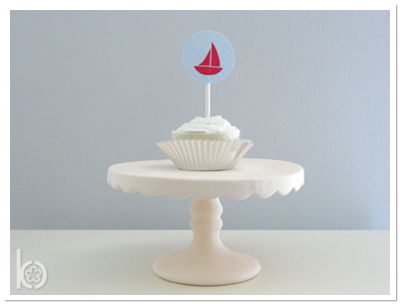
I love cupcake toppers. They are such an easy way to dress up a cupcake, without being a master of frosting { as you can see from my video and photos I am not a master of frosting… }.
Materials I recommend:
- Card stock paper – I use 110lb index card stock
- Scissors
- 2″ Circle Punch – I love my Recollections 2″ Circle Punch because it’s so easy to center the design before punching
- Lollipop Sticks – The Wilton 4″ Lollipop Sticks work perfectly!
- Adhesive { double sided tape, glue dots or lines } – I am in LOVE with the 1″ Glue Lines from Glue Dots – they go on so easily, and they’re the perfect size for cupcake toppers!
You can view the tutorial here:
And here are some written instructions { for those who prefer to read rather than watch }:
- Print your file on card stock paper
- Cut out each row of squares so you can get to them with the punch
- Center the design in the 2″ circle punch and press down to punch out each circle
- Using your glue lines, tear one line (on the plastic backing) off the roll
- Line the glue up with the top of your lollipop stick and press down on the plastic backing
- Peel off the plastic backing, and the glue line should remain stuck to your lollipop stick
- Center your topper over the lollipop stick – the end of the glue line should line up with the bottom of the circle
- Press down gently so you don’t bend the paper { there’s a good example of this in the video… left in for education purposes ;) }
- Stick in the center of your cupcake!
This is my first ever tutorial, so please feel free to leave me some feedback and let me know what you think, or would like to see in the future!